
Real Review: Step-by-Step Installation Guide & How does Mactions Shocks Absorbers perform
YouTube channel 'Master of None' released a comprehensive walkthrough detailing the installation of Mactions remote reservoir coilover shocks on a 2016 Harley-Davidson Road Glide.
Here is a technical breakdown of the installation process and calibration requirements based on their demonstration.
🛠️ Required Tools and Specifications
Before lifting the motorcycle, ensure your workspace is equipped with the following:
Motorcycle jack or lift
Torque wrench (capable of a minimum of 100 ft-lbs)
3/4" socket (for primary shock bolts)
T40 and T45 Torx drivers (for fender hardware)
4mm and 5mm Allen sockets
Blue Loctite (Threadlocker)
Measuring tape (for setting sag)
⚙️ Installation Procedure
1. Removal of Factory Components
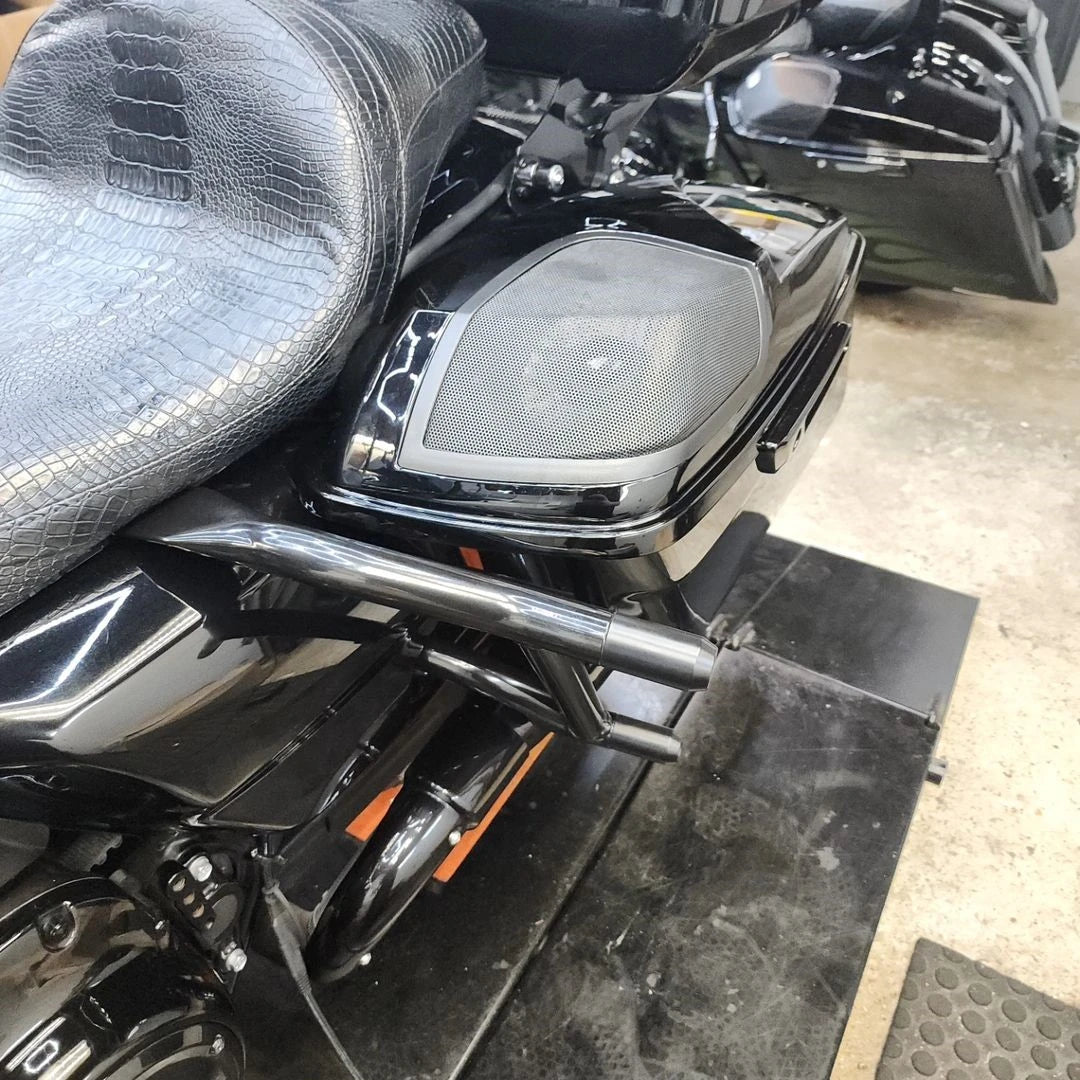
Elevate the rear of the motorcycle just enough to relieve tension on the rear tire—avoid lifting it completely off the ground to prevent the swingarm from dropping and binding the bolts. Remove the saddlebags. Utilize the 3/4" socket to extract the upper and lower bolts and carefully remove the factory Progressive shocks.
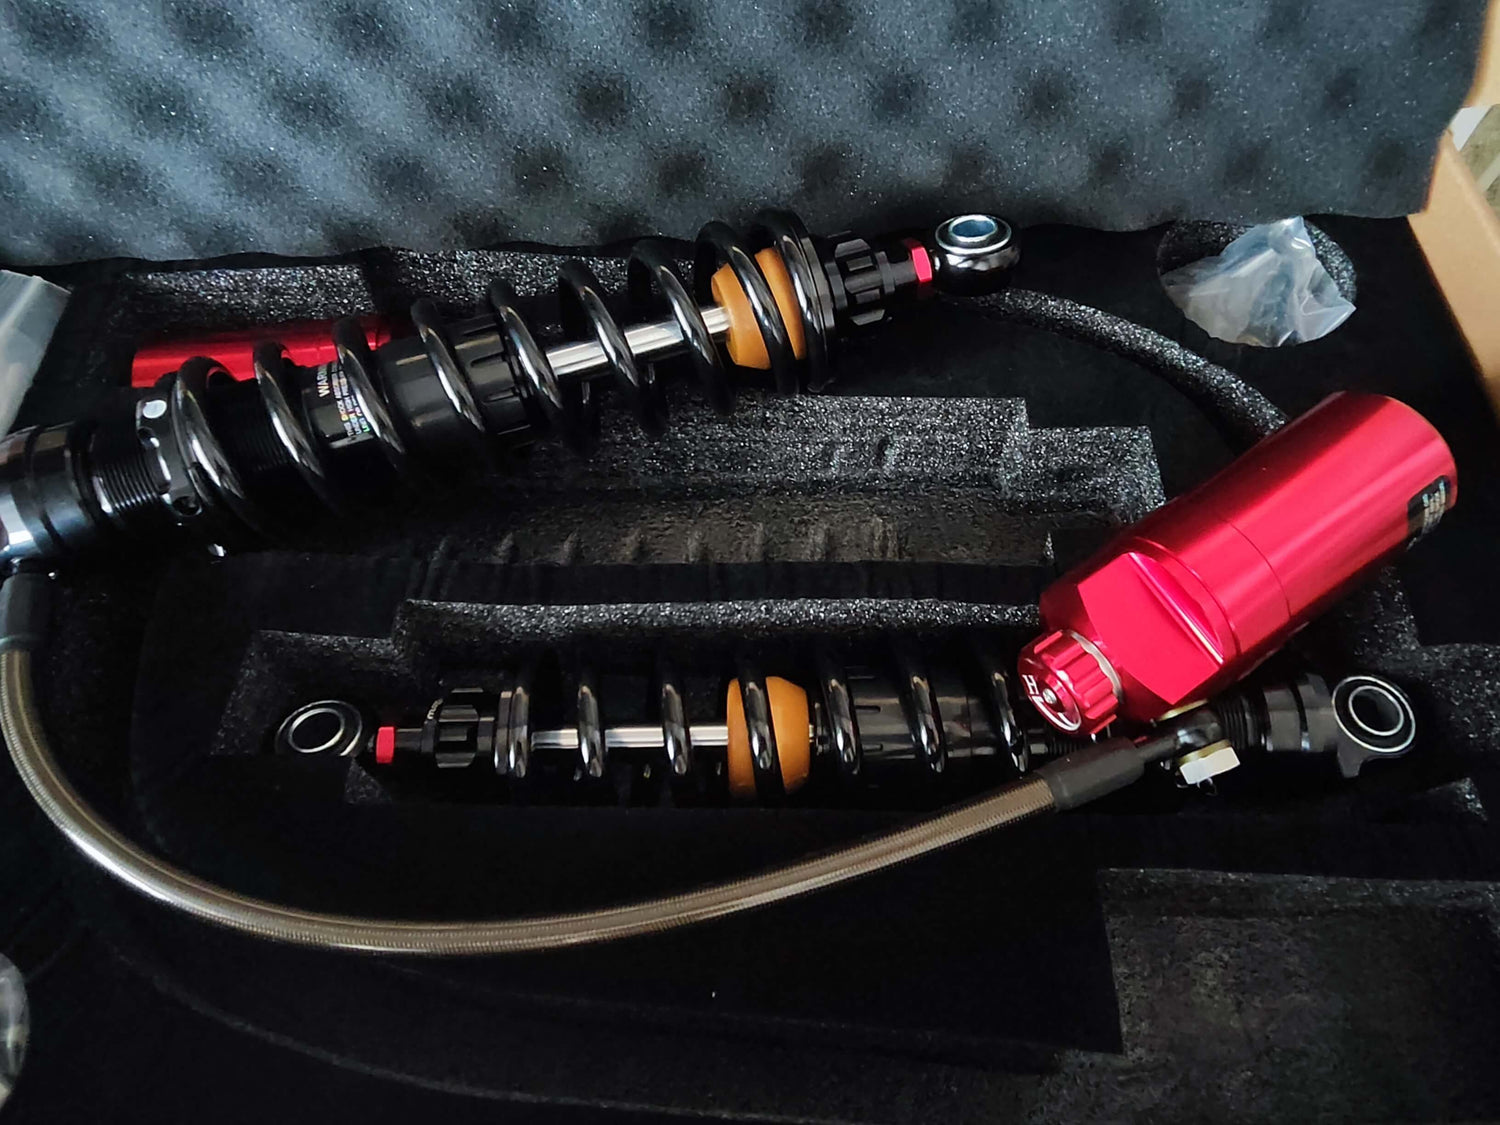
2. Mounting the Mactions Coilovers
The Mactions units feature a taller profile than the stock suspension. Apply Blue Loctite to your primary mounting bolts. Install the new shocks utilizing the provided sleeves and spacers, ensuring the spacer is positioned on the inboard side.
Critical Specification: Torque the upper and lower shock bolts to 65 ft-lbs (within the factory 63-70 ft-lbs spec) to ensure structural integrity.
3. Reservoir Bracket Installation
Remove the center fender bolts using the T40 and T45 Torx drivers. Mount the billet aluminum reservoir brackets using the supplied hardware. Pay close attention to the spacer orientation: the longer spacer mounts to the rear. Secure the reservoirs into the clamps, ensuring the dampening adjustment dials are easily accessible.
📐 Calibration: Setting Preload and Sag
Installing the hardware is only half the job; calibrating the suspension to the rider's weight is crucial for optimal performance.
Measure the unladen length of the shock while the bike is upright.
Have the rider sit on the motorcycle with their typical riding gear to compress the suspension.
Measure the new length. The difference between the two measurements is your "sag."
Using the provided spanner tool, adjust the preload collar until you achieve approximately 1/2 inch of sag. Once dialed in, lock the collar in place using the nylon-coated set screw to prevent adjustment drift from road vibration.
📊 Final Assessment
At a sub-$400 price point, the build quality, machined aluminum components, and anodized finish of the Mactions shocks are highly impressive, rivaling suspension systems that cost more than double. With adjustable preload and dampening capabilities on both the shock body and the remote reservoir, this setup offers significant value for riders looking to enhance their touring experience.

Hinterlasse einen Kommentar
Diese Website ist durch hCaptcha geschützt und es gelten die allgemeinen Geschäftsbedingungen und Datenschutzbestimmungen von hCaptcha.